
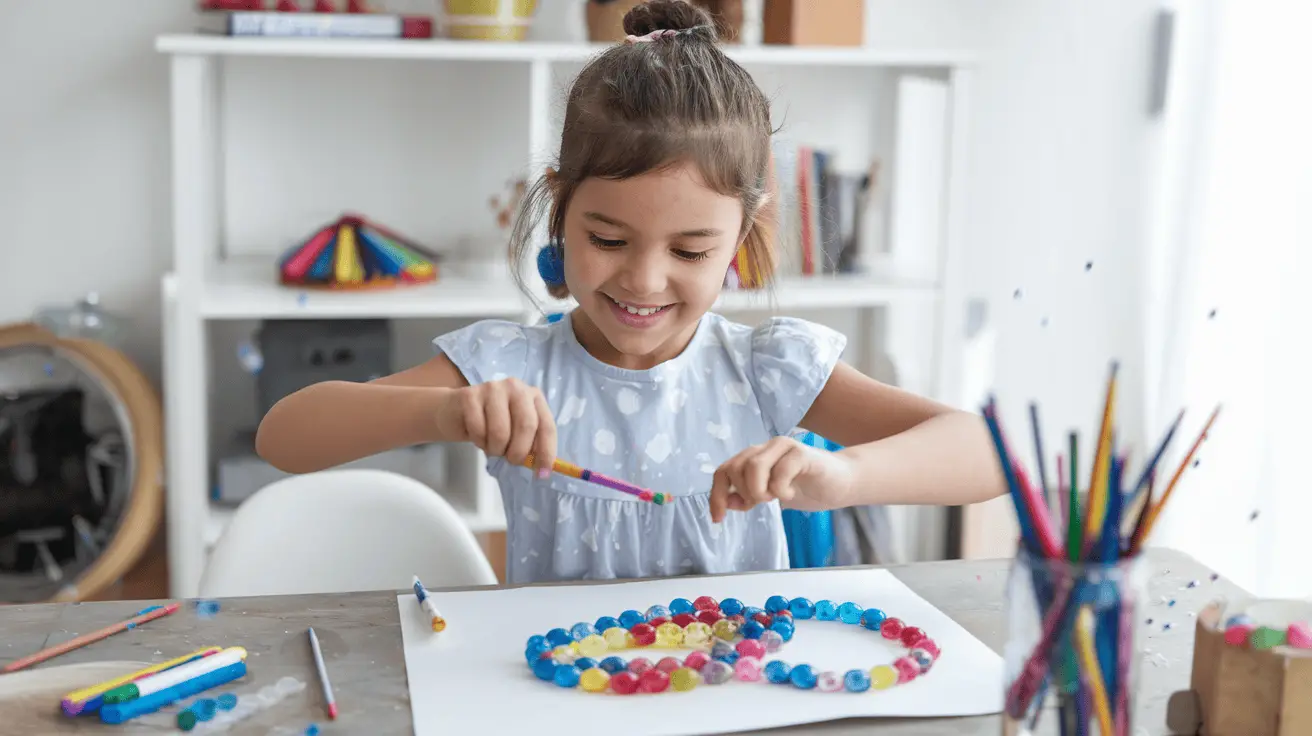
Bubbles and art—what could be a better combination for kids? If you’ve ever watched your child chase soap bubbles through the yard, completely mesmerized by their swirling colors and weightless magic, then you already know: bubbles are pure joy. But did you know they also make incredible art projects?
Bubble art is a fantastic way to combine science, creativity, and sensory play into one fun-filled activity. Whether your little one is a budding Picasso or just loves getting messy, these bubble-inspired painting ideas will bring endless fun and surprising results. Best of all? They’re low-cost, easy to set up, and require minimal artistic skills—perfect for young artists and parents who don’t want to spend hours cleaning up afterward!
From watercolor bubble prints to soap bubble sculptures, here are 10+ creative ways to bring the beauty of bubbles into your child’s art time. Let’s get popping!
1. Watercolor Bubble Prints
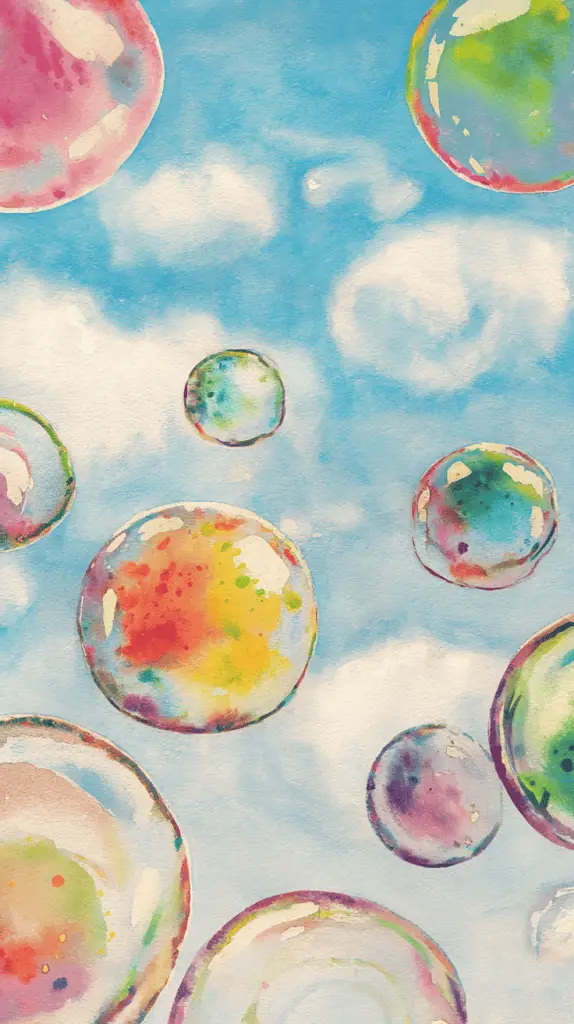
Nothing captures the dreamy, floating feel of bubbles quite like watercolors. This project is simple, elegant, and perfect for beginners. Kids will love watching soft colors blend together in fluid, unpredictable ways—just like real soap bubbles!
How to Achieve This Look:
• Mix watercolors with soap: In a cup, combine liquid watercolor paint, dish soap, and water. The soap helps create the bubbles and slows down drying time.
• Blow bubbles onto watercolor paper: Use a straw or bubble wand to blow bubbles onto thick watercolor paper and watch them burst into colorful splashes.
• Let the paint pool and blend: Once the bubbles pop, they leave unique, organic patterns that mimic real floating bubbles.
• Layer the colors: Let the first layer dry before adding more bubbles in different shades. This creates a stunning layered effect.
• Optional: Add metallic highlights: Use a white gel pen or silver paint to draw highlights on the bubbles for an extra magical touch.
✨ Bonus Tip: Let kids experiment with different bubble sizes and see how they interact on paper. No two paintings will ever be the same!
2. Bubble Wrap Stamping
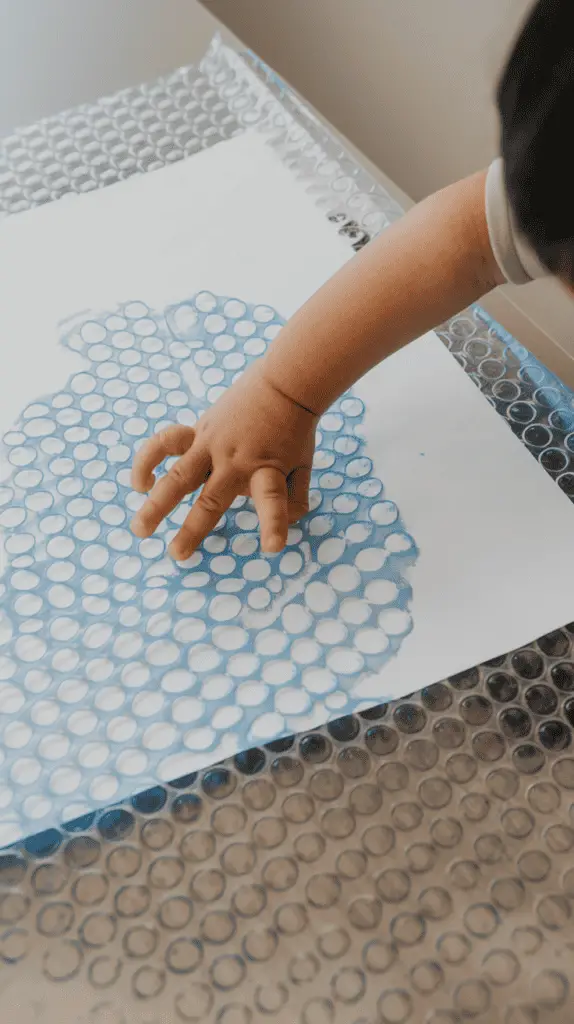
Want to reuse old packaging and turn it into art? Bubble wrap isn’t just for popping—it’s an awesome texture tool! This is a mess-free, beginner-friendly project that’s great for toddlers and older kids alike.
How to Achieve This Look:
• Cut bubble wrap into shapes: Squares, circles, or even cut-out letters work great!
• Brush on paint: Use a paintbrush or sponge to coat the bumpy side of the bubble wrap with watercolor paint or tempera paint.
• Stamp onto paper: Press the painted side of the bubble wrap onto cardstock or watercolor paper to reveal a fun, bubbly texture.
• Layer different colors: Let each layer dry before adding new colors for a multi-dimensional look.
• Experiment with metallic or neon paints: This gives the bubbles a magical, glowing effect!
✨ Bonus Tip: This technique works great on tote bags and t-shirts—just use fabric paint instead of regular paint!
3. Bubble Blowing Paint Art
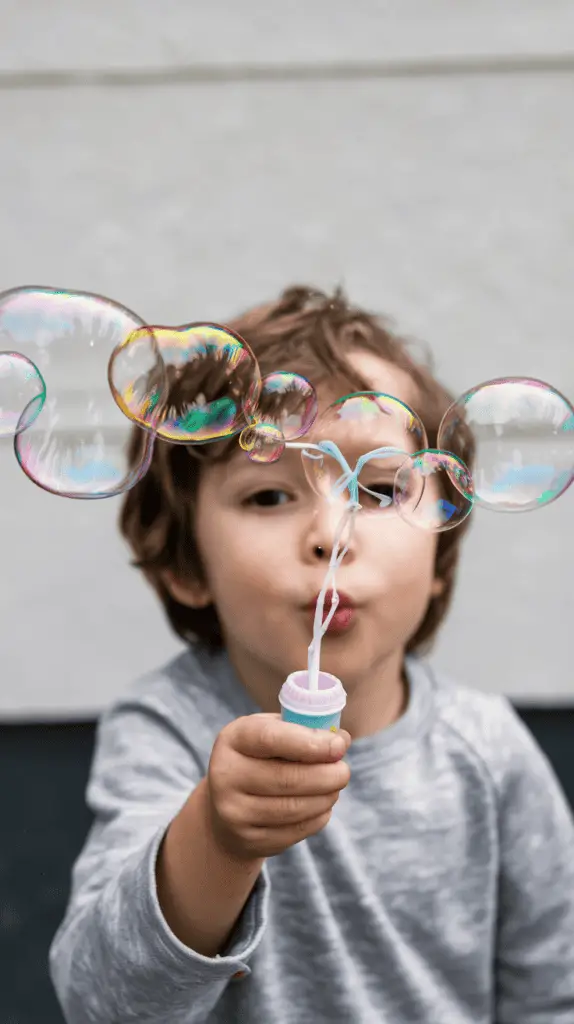
If your child loves blowing bubbles, why not turn it into an art project? This activity is interactive, fun, and totally mesmerizing. Plus, it teaches kids about surface tension and air pressure in the coolest way possible.
How to Achieve This Look:
• Make a bubble paint mix: Combine water, dish soap, and liquid watercolor or food coloring in a shallow dish.
• Blow bubbles with a straw: Have your child gently blow into the paint mixture using a straw. Watch as colorful bubbles grow and float!
• Press paper over the bubbles: Once the bubbles rise to the surface, place watercolor paper on top and lift to reveal beautiful bubble patterns.
• Try different colors: Let the first layer dry, then repeat with new colors for a layered effect.
• Outline the bubbles with a marker: Once dry, kids can add faces, designs, or patterns to their bubble art!
✨ Bonus Tip: Use black paper with white paint for a galaxy-themed bubble print!
4. DIY Soap Bubble Sculptures
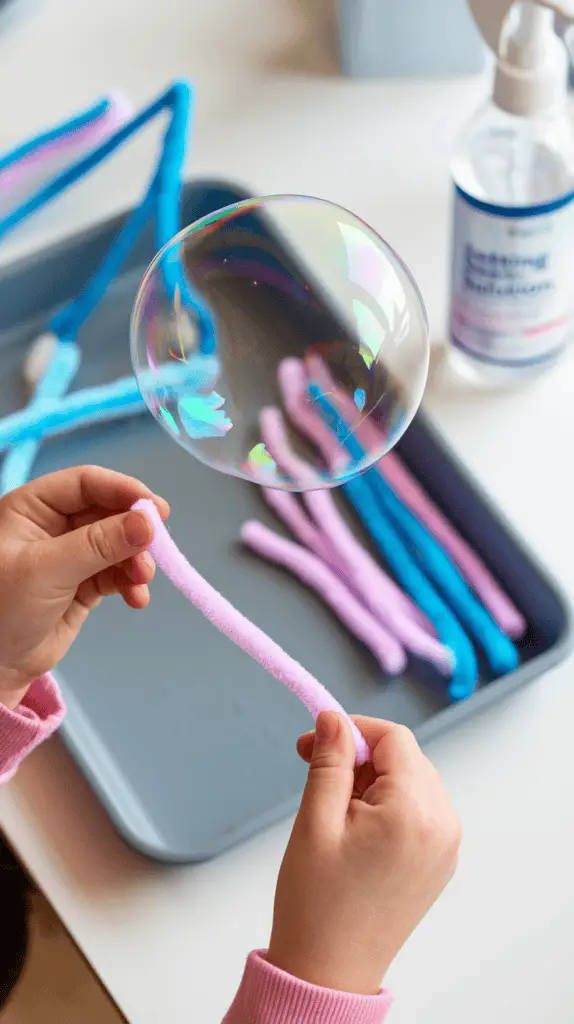
For kids who love 3D art, this project turns bubbles into sculptures! It’s a mix of science and creativity, resulting in cool, abstract bubble structures.
How to Achieve This Look:
• Make a strong bubble mix: Combine dish soap, glycerin, and water for extra-sturdy bubbles.
• Use a wire or pipe cleaner to create bubble wands: Twist them into cool shapes like hearts, stars, or even initials.
• Dip and blow bubbles onto a plastic tray: Kids can stack bubbles together to form bubble towers!
• Let them dry with a spray-on setting solution: This helps the bubbles harden and stay in place for a short time.
• Take cool photos: These delicate bubble structures don’t last forever, so make sure to snap some pictures of their creations!
✨ Bonus Tip: Add glitter or iridescent powder to make the bubbles shimmer!
5. Bubble Resist Watercolor Painting
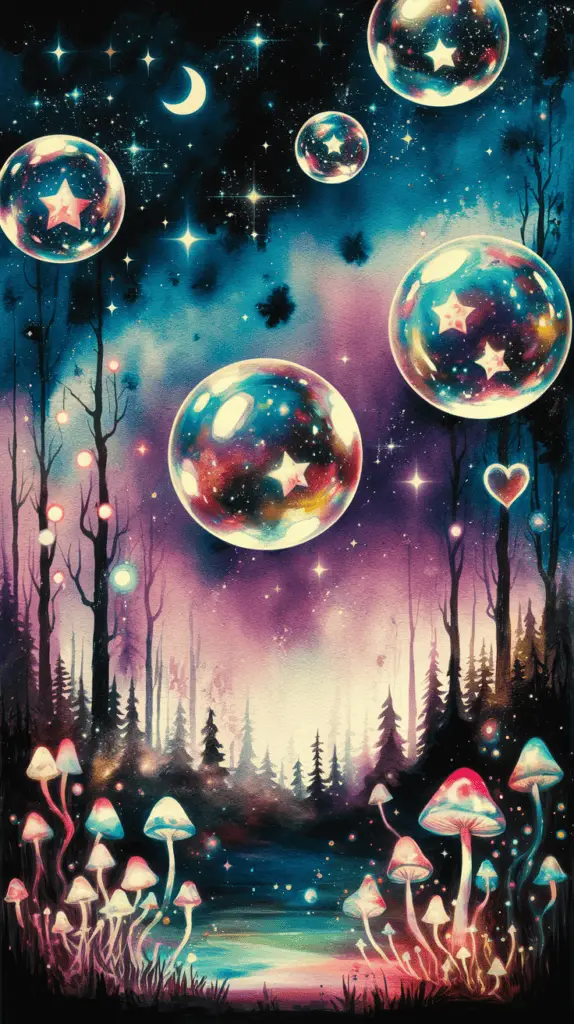
If your child loves magical reveals, this bubble resist technique will blow their mind! It’s easy, mess-free, and perfect for beginners.
How to Achieve This Look:
• Draw bubble shapes with a white crayon: Have your child sketch bubbles onto watercolor paper.
• Paint over them with watercolors: As they apply the paint, the crayon resists the color, making the bubbles pop!
• Add shading for depth: Use light blues, purples, and pinks to create a soft, glowing effect.
• Use a toothbrush for splatter effects: This makes the painting look even more whimsical and playful!
• Frame their masterpiece! This technique looks beautiful as wall art.
✨ Bonus Tip: Instead of crayons, try using rubber cement or masking fluid for even crisper results!
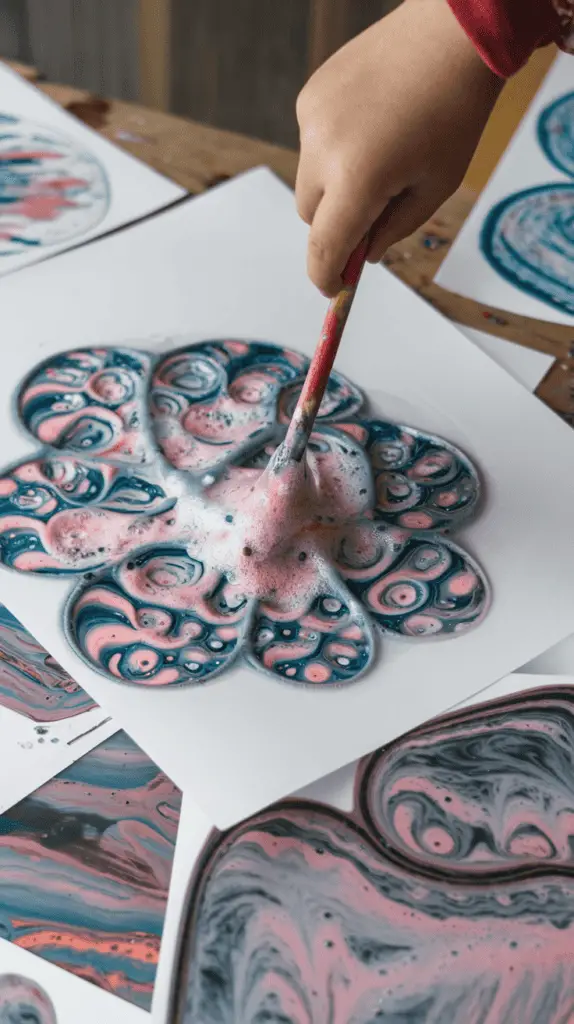
6. Shaving Cream & Bubble Marble Art
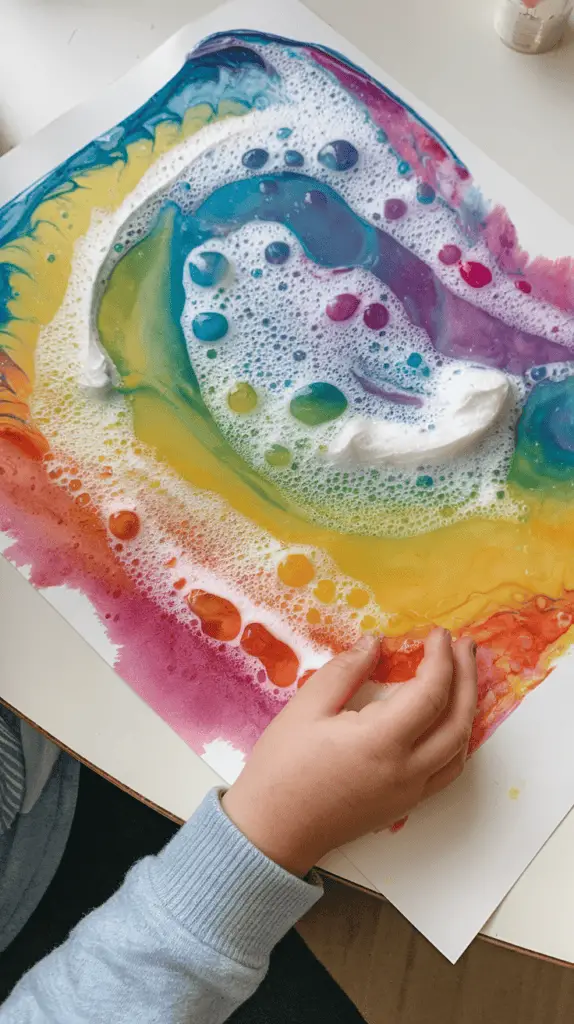
If your child loves messy play, this project will be a hit! The combination of shaving cream and bubbles creates stunning marbled patterns that look like floating soap bubbles on paper.
How to Achieve This Look:
• Spread shaving cream on a tray: Use a flat surface (a baking sheet works great) and spread a thick layer of shaving cream.
• Drizzle liquid watercolors on top: Drop different colors over the shaving cream to create a vibrant mix.
• Swirl the colors lightly: Use a toothpick or a straw to gently swirl the colors together (but don’t overmix!).
• Press paper onto the surface: Lay a piece of cardstock on top, then lift it off carefully.
• Wipe away excess foam: Use a squeegee or ruler to remove the extra shaving cream, revealing a marbled bubble pattern!
✨ Bonus Tip: Try using metallic or neon watercolors for a galaxy-inspired effect!
7. DIY Bubble Wand Art
Who says you need a brush to paint? Bubble wands can be fantastic painting tools that create unique, swirly patterns. This is a fun outdoor project that lets kids paint in a totally new way.
How to Achieve This Look:
• Mix paint with bubble solution: In a cup, combine non-toxic tempera paint, dish soap, and a little water.
• Dip the bubble wand into the mix: Instead of blowing bubbles, press the wand onto paper like a stamp.
• Experiment with different wand shapes: Try circular wands, star wands, or even DIY pipe cleaner shapes.
• Layer the prints: Let one color dry before stamping again for a multi-layered effect.
• Finish with doodles: Once the paint is dry, kids can draw inside the bubbles to make planets, faces, or fun designs!
✨ Bonus Tip: This technique works beautifully on canvas—a perfect DIY art piece for their bedroom!
8. Floating Bubble Chalk Art
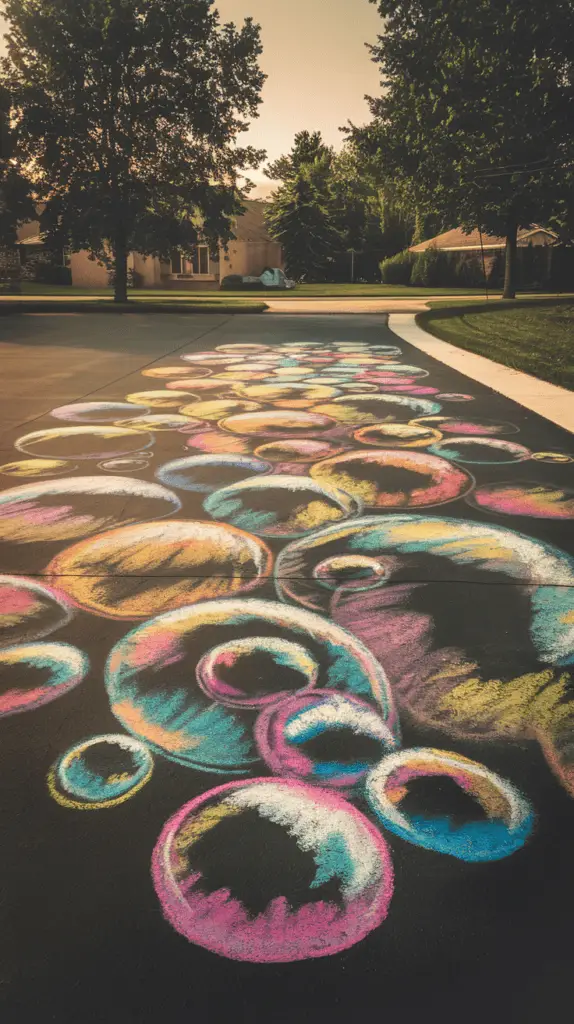
Want to take bubble painting outside? This sidewalk chalk bubble art is a mess-free, washable activity that makes driveways and patios burst with color!
How to Achieve This Look:
• Mix DIY bubble paint: Combine chalk powder (or crushed chalk), water, and dish soap to create a colorful, foamy mix.
• Blow bubbles onto pavement: Use bubble wands or straws to blow colorful bubbles onto the sidewalk.
• Watch as they pop! The bubbles will leave soft, watercolor-like stains on the pavement.
• Use a sponge or spray bottle to blend the colors and create magical abstract patterns.
• Draw over the dried bubbles: Once dry, kids can add doodles or outlines using regular chalk.
✨ Bonus Tip: This is completely washable—just hose it down when you’re ready for a new masterpiece!
9. Bubble-Printed Wrapping Paper

Looking for a fun, handmade gift idea? Turn bubble art into custom wrapping paper! This is an easy DIY craft that adds a personal touch to birthday gifts or holiday presents.
How to Achieve This Look:
• Use kraft paper or butcher paper: Lay out large sheets on a flat surface.
• Mix bubble paint: Combine dish soap, water, and acrylic paint in separate cups.
• Blow colorful bubbles onto the paper: Use straws to create overlapping bubble patterns.
• Let it dry completely: Once dry, the result is beautiful, one-of-a-kind wrapping paper!
• Tie it with twine or ribbon for a rustic, handmade touch.
✨ Bonus Tip: Add gold or silver splatters with metallic paint to make it extra special!
10. DIY Glow-in-the-Dark Bubble Art
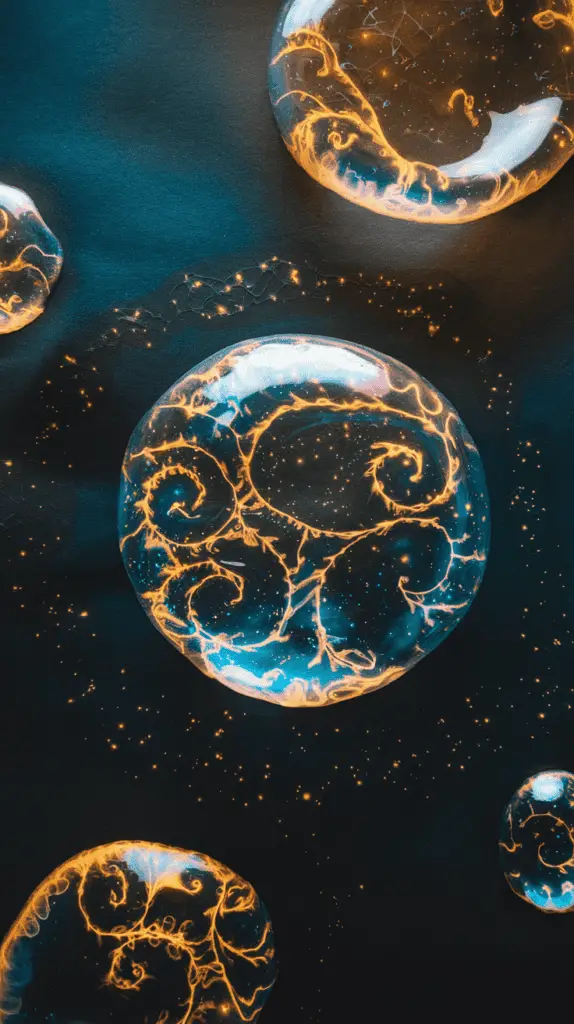
Want to add a magical twist to bubble painting? Try glow-in-the-dark bubble art! It’s a perfect nighttime activity that turns bubble play into a glowing masterpiece.
How to Achieve This Look:
• Use glow-in-the-dark paint: Mix it with bubble solution and dish soap for the best results.
• Blow bubbles onto black or dark paper: The contrast makes the glow effect even more dramatic.
• Let the bubbles pop and dry: Once they burst, the paint remains on the surface, creating a glowing design.
• Charge under a light: Place the artwork under a lamp or UV light for a few minutes, then turn off the lights to see it glow!
• Outline the bubbles with neon gel pens for an extra cosmic effect.
✨ Bonus Tip: This also works on T-shirts and tote bags—just use fabric paint instead of regular paint!
Conclusion
Bubble art is so much more than just messy fun—it’s a creative, hands-on way for kids to explore colors, textures, and movement while making stunning works of art. Whether your child loves painting, experimenting, or getting hands-on with messy play, these 10+ bubble-inspired projects will keep them entertained and engaged!
The best part? Bubble art is budget-friendly, easy to clean up, and fun for all ages. So, which bubble art idea are you most excited to try? Whether you go for watercolor prints, bubble wrap stamping, or glow-in-the-dark designs, your child is guaranteed to have a blast creating magical, one-of-a-kind art!