
There’s something a bit magical about handing kids a pile of sticks, leaves, and wildflowers and watching what they come up with. Nature mandalas are one of those easy, calming art projects that blend a bit of quiet creativity with fresh air and foraging fun. You don’t need fancy supplies or a clean table—just a bit of ground, a flat base, and whatever bits of nature your little ones can gather. Here’s how to guide them into making something that feels a bit like art therapy and a bit like fairy garden design.
Step 1: Gather the Treasures
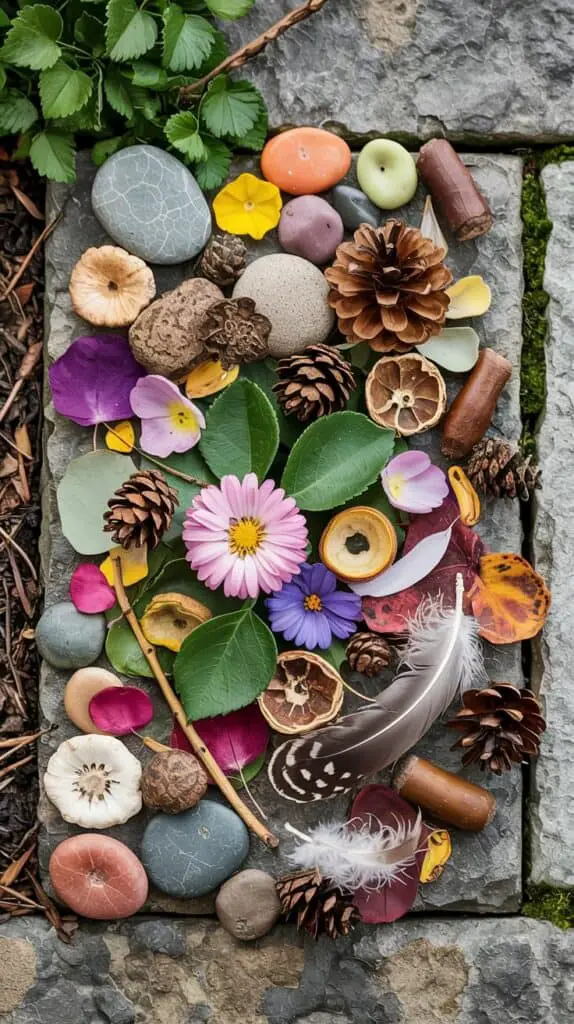
Start with a scavenger hunt! Let your kids explore the garden, park, or even the sidewalk edges to collect natural materials. Look for variety—round stones, twigs, leaves in different shapes, flower petals, pinecones, seeds, feathers, or even dried fruit peels. You’re aiming for texture and contrast. Avoid anything sharp or moldy, and try not to disturb any critters’ homes (no nicking moss off walls, please).
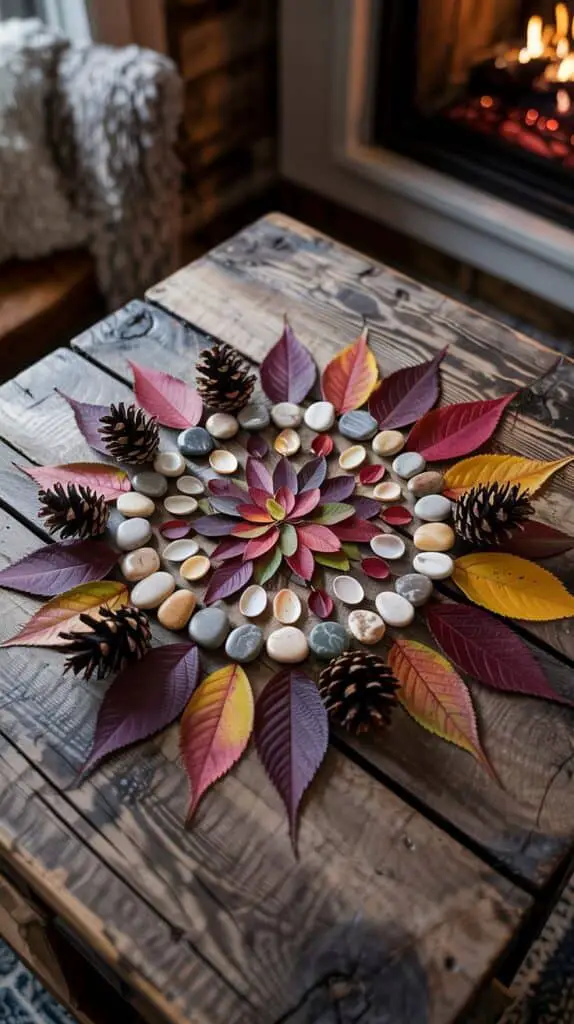
Step 2: Pick a Base for Your Mandala
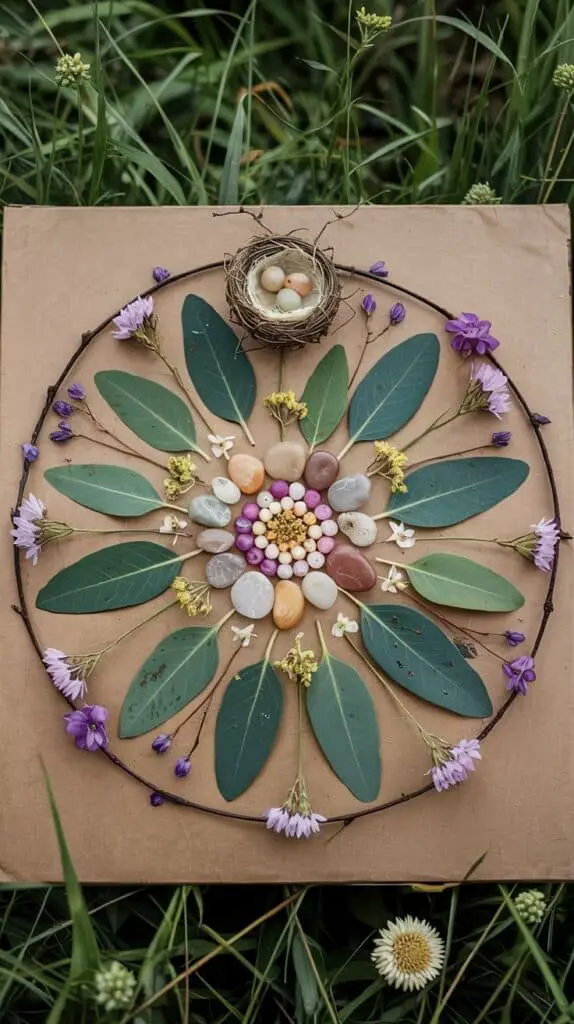
You can build the mandala directly on the grass or patio, but if you want something portable (and less wind-sensitive), use a big piece of cardboard, a wooden board, or even an old tray. It gives the kids a clear frame to work within and makes it easier to move or photograph the final design.
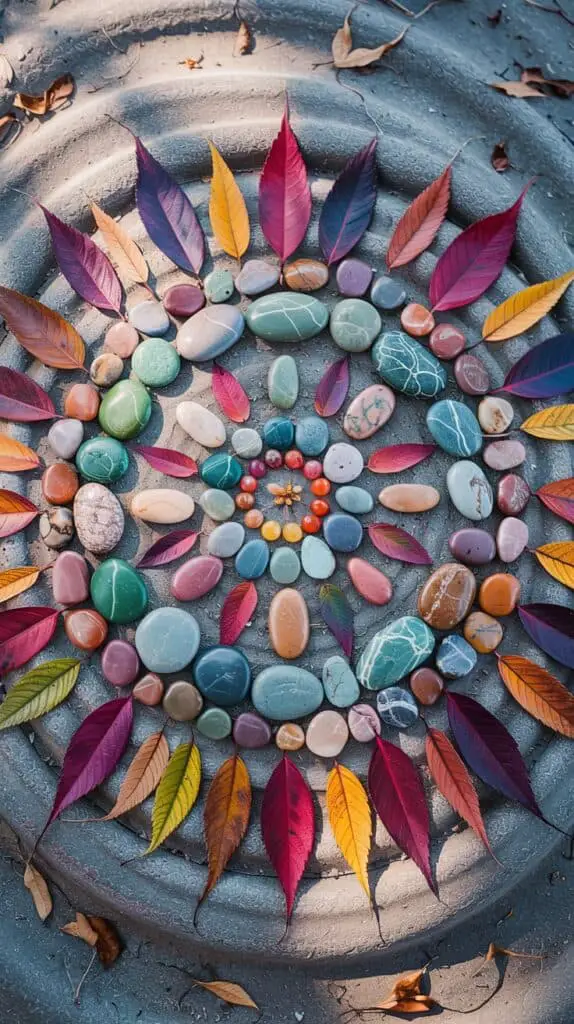
Step 3: Start from the Center
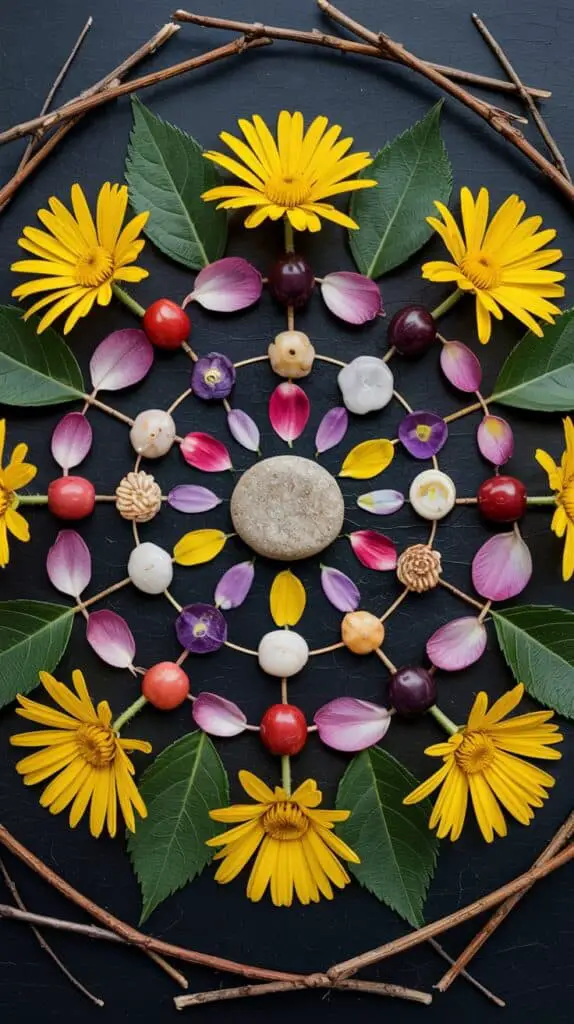
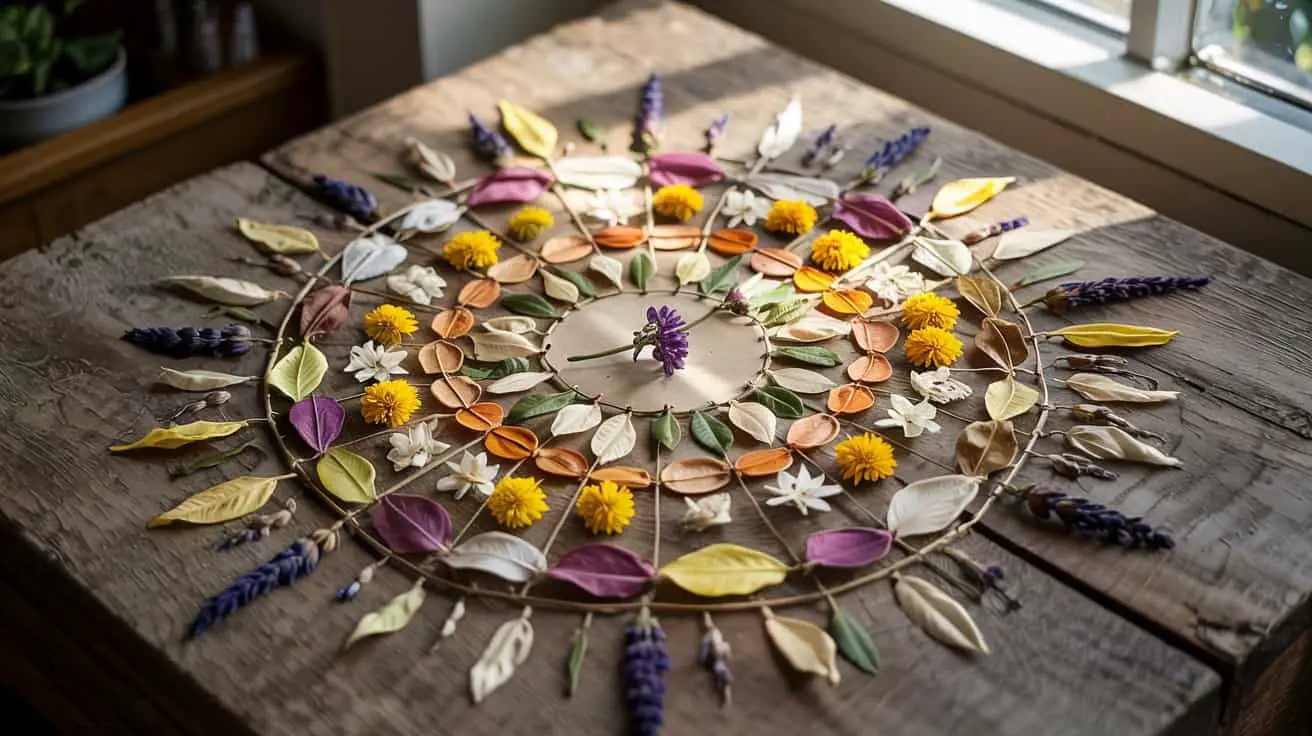
Explain that a mandala is built in circles from the center out. They can place a smooth stone, flower head, or shell right in the middle as the “core,” and then build around it in layers. Each layer can be made with a different type of object—twigs pointing outward, then flower petals, then leaves, then berries, and so on.
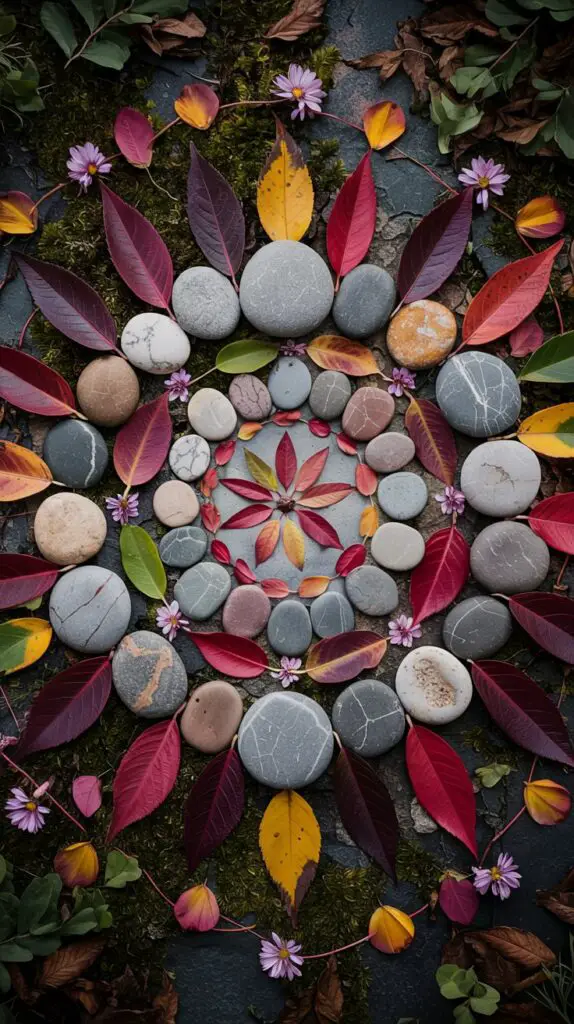
Step 4: Keep It Symmetrical (ish)
The beauty of a mandala is in its symmetry. Encourage your kids to repeat the same shape or color around each ring. It doesn’t need to be perfect—just balanced enough to give that peaceful, spiral look. If they’re younger or not into rules, let them go a bit wild—it’ll still turn out lovely.
Step 5: Add a Personal Touch
Want to make it extra special? Help them add a small bird’s nest made from grass clippings, or place a couple of paper-crafted eggs or a note in the center. Dried lavender or rosemary smells wonderful and adds a sensory element. Just be careful with anything edible—local wildlife might decide it’s snack time.
Step 6: Photograph Before the Wind Blows

Once the mandala is complete, take a photo straight from above (a flatlay!) so the design really pops. This is especially useful if you plan to recycle the materials or want to use it in a DIY card or memory book later. Kids love seeing their nature art framed like it belongs in a gallery.
Step 7: Leave No Trace
If you built your mandala outdoors, make sure to clean up or scatter any leftover materials in a way that’s gentle on the environment. Compost what you can, or let petals and leaves go back to the earth naturally.
Final Thought
Nature mandalas are one of those crafts that sneak in all sorts of lovely things—patience, observation, mindfulness—without feeling like a “lesson.” And the best part? You don’t need glitter or glue or anything that’ll stick to your socks for weeks. Just a little imagination and whatever the wind blew in.