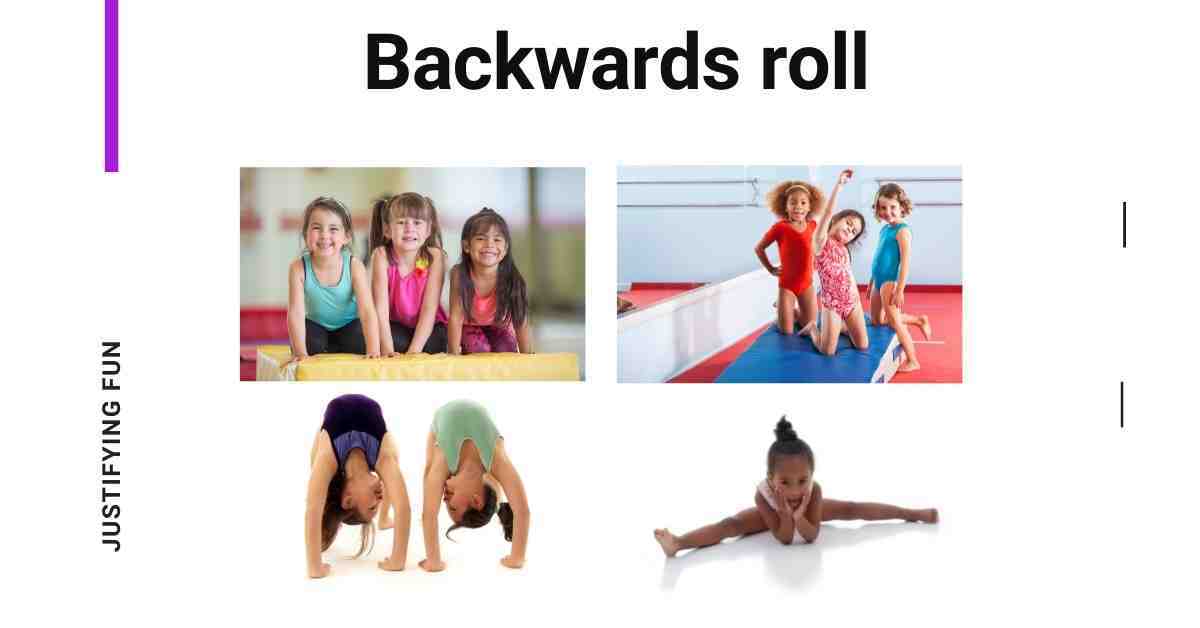
The backwards roll is one of the first gymnastics skill gymnasts learn in recreational or toddler gymnastics classes. I want to show you how to do a backwards roll and which progressions and drills will help you master the skill more easily. It’s also important to take a look at the backwards roll into push up position because you’ll be learning this floor skill in gymnastics level 3.
Please be aware that this article is generic information and not to be confused with advice. Speak to a professional or gymnastics coach for all your gymnastics needs. Children performing gymnastics need to be under adult supervision at all times. We disclaim all liability for any physical harm resulting from the information on this website.
How to do a backwards roll in gymnastics
Before you attempt a backwards roll make sure you have a gymnastics mat or yoga mat so that you have a soft but firm surface to roll on.
- Start the backwards roll by sitting in the tuck position, feet flat on the floor and arms and hands hugging your legs close to your knees. Your knees should be close to your chest.
- To get used to being in this tuck shape and holding it while rolling, you can practice holding this position while rolling onto your back and back into the sitting position. You’ll feel it work your core as you do this movement. Try practising this movement a few times until you know how much you need to rock to get back up into the tuck position. I was always taught to keep a small gap between my knees in the tuck position, to make sure there is space for my head to go into if I make a mistake during the backwards roll movement.
Tip – A good drill for helping improve your rocking motion and build up strength is to practice rocking onto your back and forward again but instead of stopping in a seated tuck position continue using the momentum to stand up with your arms reaching out in front of you with your legs in a squat position. The tighter you are able to hold the tuck shape throughout the movement the faster you can rock and the easier it will be to rise up into the standing position.
- From the tuck position your hands should move to form ‘Micky mouse ears’ in the groove of your shoulder bone as you roll back and your hands touch the ground ready for your legs to roll over your head. Using the downward slop on a cheese mat can help you pick up more speed and get into this rolling position more easily.
- To start the roll, sit in the tuck position, knees tight against your chest and hands up in the Micky mouse position ready to go. Let your knees lead the roll over your head, making sure they stay tucked in and that your hands touch the ground where your shoulder has a little dip. once you have rolled over stand up straight with your belly tucked in to finish the move.
Backwards roll progressions
Once you can do the backwards roll in the position above, you can start to progress to a backwards roll from a standing up position. The next progression is to start in a squat position, knees still close to your chest but your weight should be on your toes ready to spring backwards. Now your backwards roll is a little higher you can gradual begin to increase the height of your roll. The roll will be faster now as there is more momentum.
The final backwards roll progression is a backwards roll from a standing position. You have to stand up straight and come down into the same position we formed in the earlier progressions. Don’t just drop down to the ground, you need to find the right shape and roll into the correct position as you come down. This is the most difficult progression because it’s more difficult to find the right shape and its scary coming down from much higher up. You’ll master it with some practice though, don’t worry.
Backwards roll into push up position
At Gymnastics level 3 you’ll learn to do a backwards roll into push up position. For this skill you’ll need a strong core to be able to engage your core in the final push up position. Practising the candlestick, plank, leg lifts, should lifts and push ups on your knees and toes can help you build up the shoulder and core strength needed for this skill.
How to do a backwards roll into push up position step by step
- This skill begins in the same squat position as we formed in the backwards roll progression above. This isn’t a regular squat though, your arms should be stretched up with your palms facing upwards. Our gym calls this the bunny ears position but you might have a different name for it.
- Tuck your chin in towards your chest with your eyes focused on your belly button area.
- Lower your hips towards the floor and in one motion roll your lower back to touch the floor, followed by your upper back.
- Make sure your knees are tucked into your chest and your toes should come over your head. Be sure to keep your eyes focused on your belly area at all times so you don’t accidentally straighten your neck or move out of the tuck position.
- Use your hands and arms to push into the push up position. You should feel like your backward roll flows into this position naturally. Be sure to keep your arms straight and core tight in the end position.
